Install WordPress on Ubuntu with Apache2, MariaDB and PHP
This article shows how to install WordPress on Ubuntu with Apache2, MariaDB and PHP support.
This setup will probably be how all WordPress sites will be configured going forward, for more ways to install WordPress check the documentation website.
Install Apache2 HTTP Server on Ubuntu
To install Apache2 HTTP on Ubuntu server, run the following commands:
- Update packages:
$ sudo apt update
- Install Apache2:
$ sudo apt install apache2
Now, we will use the commands below to stop, start and enable Apache2.
- Start and enable Apache2 service:
$ sudo systemctl stop apache2.service
$ sudo systemctl start apache2.service
$ sudo systemctl enable apache2.service
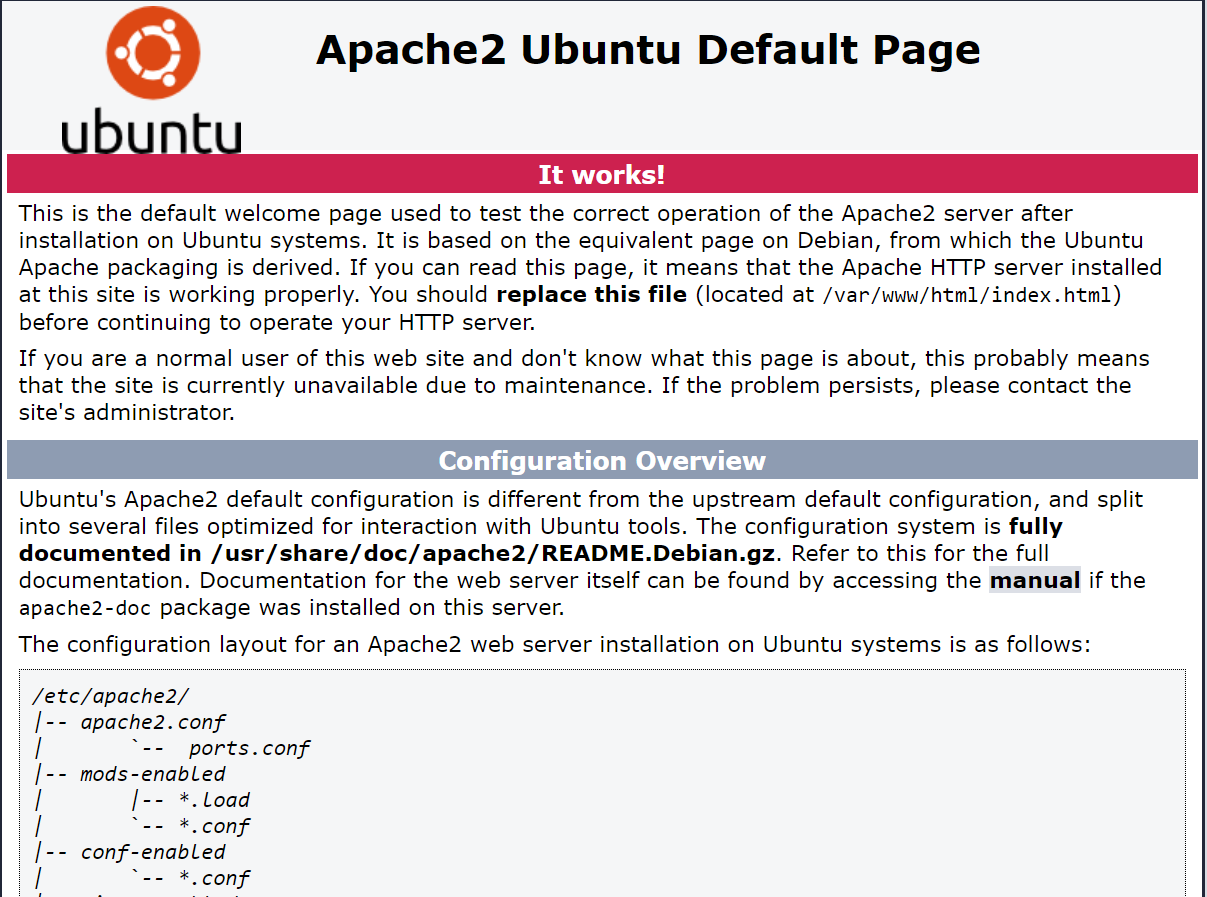
To test Apache2 setup, open your browser and write the server hostname or IP address, and you should see Apache2 default test page as shown below. By getting this, we know Apache2 is working as expected.

Install MariaDB Database Server
MariaDB database server is a very good place to start when looking at open source database server to use with WordPress. To install MariaDB run this command:
- Install MariaDB:
$ sudo apt-get install mariadb-server mariadb-client
Next, run the following commands which are used stop, start and enable MariaDB service to always start up when the server boots.
- Start and enable Apache2 service:
$ sudo systemctl stop mysql.service
$ sudo systemctl start mysql.service
$ sudo systemctl enable mysql.service
After that, by running the coming command, MariaDB server will be secured, by creating a root password and disallowing remote root access.
- Run MariaDB configuration script:
$ sudo mysql_secure_installation
Now, answer the following questions as below:
- Enter current password for root (enter for none):
Just press the Enter - Set root password? [Y/n]:
Y - New password:
Enter password - Re-enter new password:
Repeat password - Remove anonymous users? [Y/n]:
Y - Disallow root login remotely? [Y/n]:
Y - Remove test database and access to it? [Y/n]:
Y - Reload privilege tables now? [Y/n]:
Y
Now, you can login to MariaDB by running this command:
$ sudo mysql -u root -p
Configure Database
To configure WordPress, we need to create MariaDB database. Let’s do it!
- Access MariaDB commands:
$ sudo mysql -u root -p
The output will look similar to this:
Welcome to the MariaDB monitor.  Commands end with ; or \g.
Your MariaDB connection id is 81
Server version: 10.0.38-MariaDB-0ubuntu0.16.04.1 Ubuntu 16.04

Copyright (c) 2000, 2018, Oracle, MariaDB Corporation Ab and others.

Type 'help;' or '\h' for help. Type '\c' to clear the current input statement.

MariaDB [(none)]>
- Create database:
MariaDB> CREATE DATABASE wordpress;
- Grant access:
MariaDB> GRANT SELECT,INSERT,UPDATE,DELETE,CREATE,DROP,ALTER
    -> ON wordpress.*
    -> TO wordpress@localhost
    -> IDENTIFIED BY '<your-password>';
Do not forget to replace <your-password> with your password.
In order to apply the changes above without reloading or restarting mysql service we need to flush the table:
MariaDB> FLUSH PRIVILEGES;
- Exit MariaDB commands:
MariaDB> EXIT;
Install PHP
To install PHP use following commands:
$ sudo apt update
$ sudo apt install php libapache2-mod-php php-mysql
Install WordPress
- Download and extract the latest version of WordPress:
cd /tmp && wget https://wordpress.org/latest.tar.gz
Then extract the package using:
$ tar -xzvf latest.tar.gz
This command will produce a folder called wordpress, copy this file to /var/www/html/ by the following command:
$ sudo cp -R wordpress /var/www/html/
- Exit
/tmpdirectory and run the following command to createuploadfolder for wordpress:
$ sudo mkdir /var/www/html/wordpress/wp-content/uploads
Configure WordPress
- Configure
WordPressto use the installed database. First create/var/www/html/wordpress/wp-config.phpby running the following command:
$ sudo nano /var/www/html/wordpress/wp-config.php
- Enter the following, and don’t forget to enter the password that you have used earlier for the database:
<?php
define('DB_NAME', 'wordpress');
define('DB_USER', 'wordpress');
define('DB_PASSWORD', '<your-password>');
define('DB_HOST', 'localhost');
define('DB_COLLATE', 'utf8_general_ci');
define('WP_CONTENT_DIR', '/usr/share/wordpress/wp-content');
?>
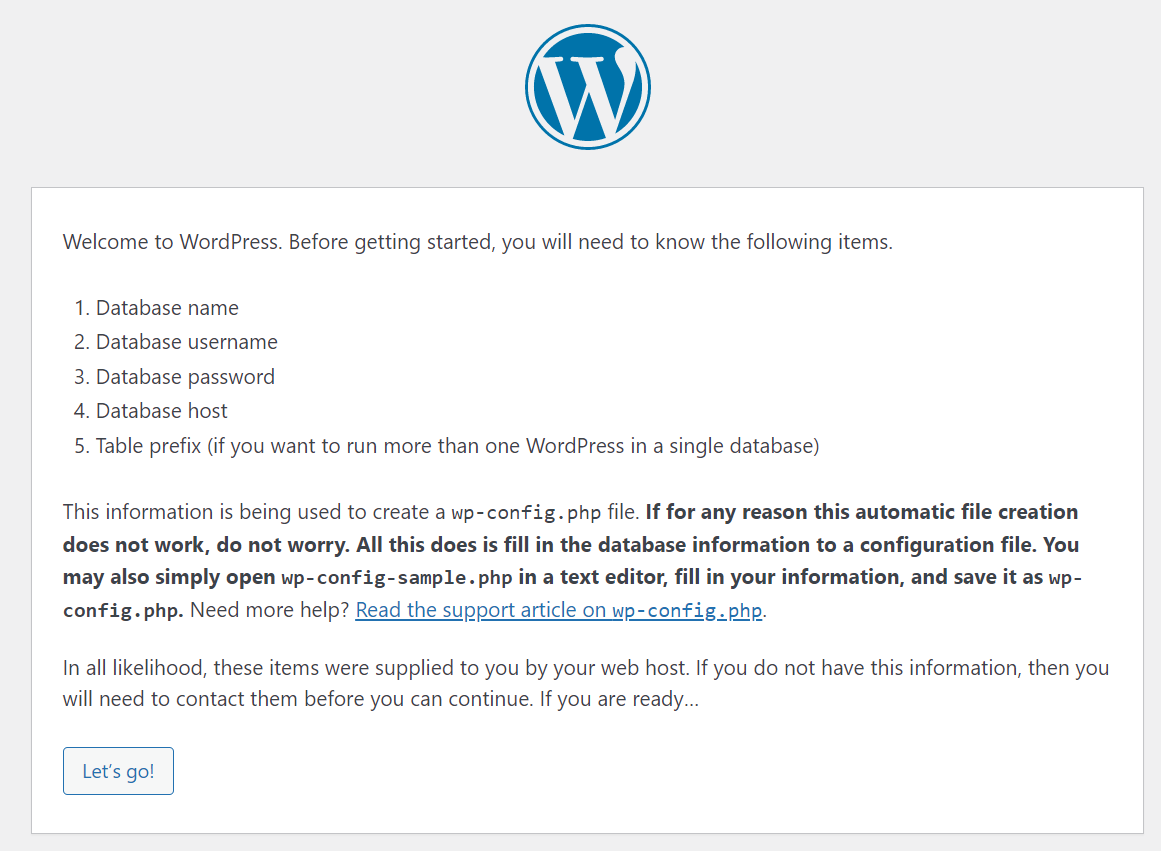
Now you can proceed to your web URL server hostname or IP address/wordpress in your browser. And start installing and configure WordPress:
http://server-ip/wordpress

Click on Let's go!
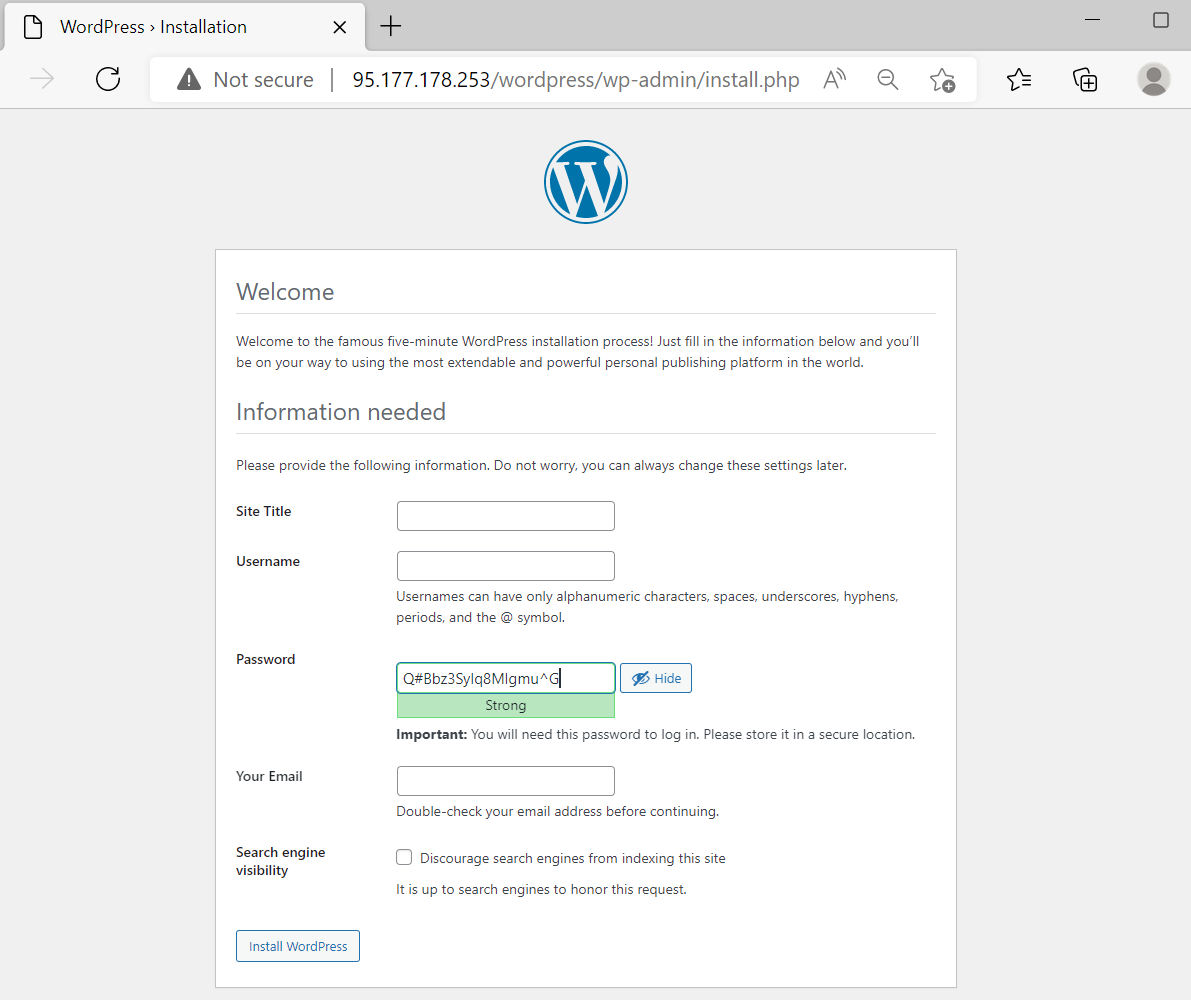
You will be asked for the title of your new site, username, password, and address e-mail. You can choose if you want to make your site indexed by search engines.

After that, you are able now to login under server hostname or IP address/wordpress/wp-login.php In Dashboard, you will see bunch of icons and options.

Leave a Reply